Nov 27, 2011

Christmas!

I have been working on Christmas projects like crazy! I had a couple sales I participated in this month so preparing for them took up a lot of my time. We also had a family vacation to Disney World, we had a blast. Both boys just loved meeting all their favorite characters and going on rides.


I made these Christmas pages for my scrapbook club, it is hard to believe that Christmas is less than a month away. I hardly have any shopping done.
I wanted to leave as much space as possible for pictures since I take so many pictures on Christmas morning. I was not going to get the Holiday Stocking Die and then of course, I saw several projects that made me have to have it!

To make these pages:

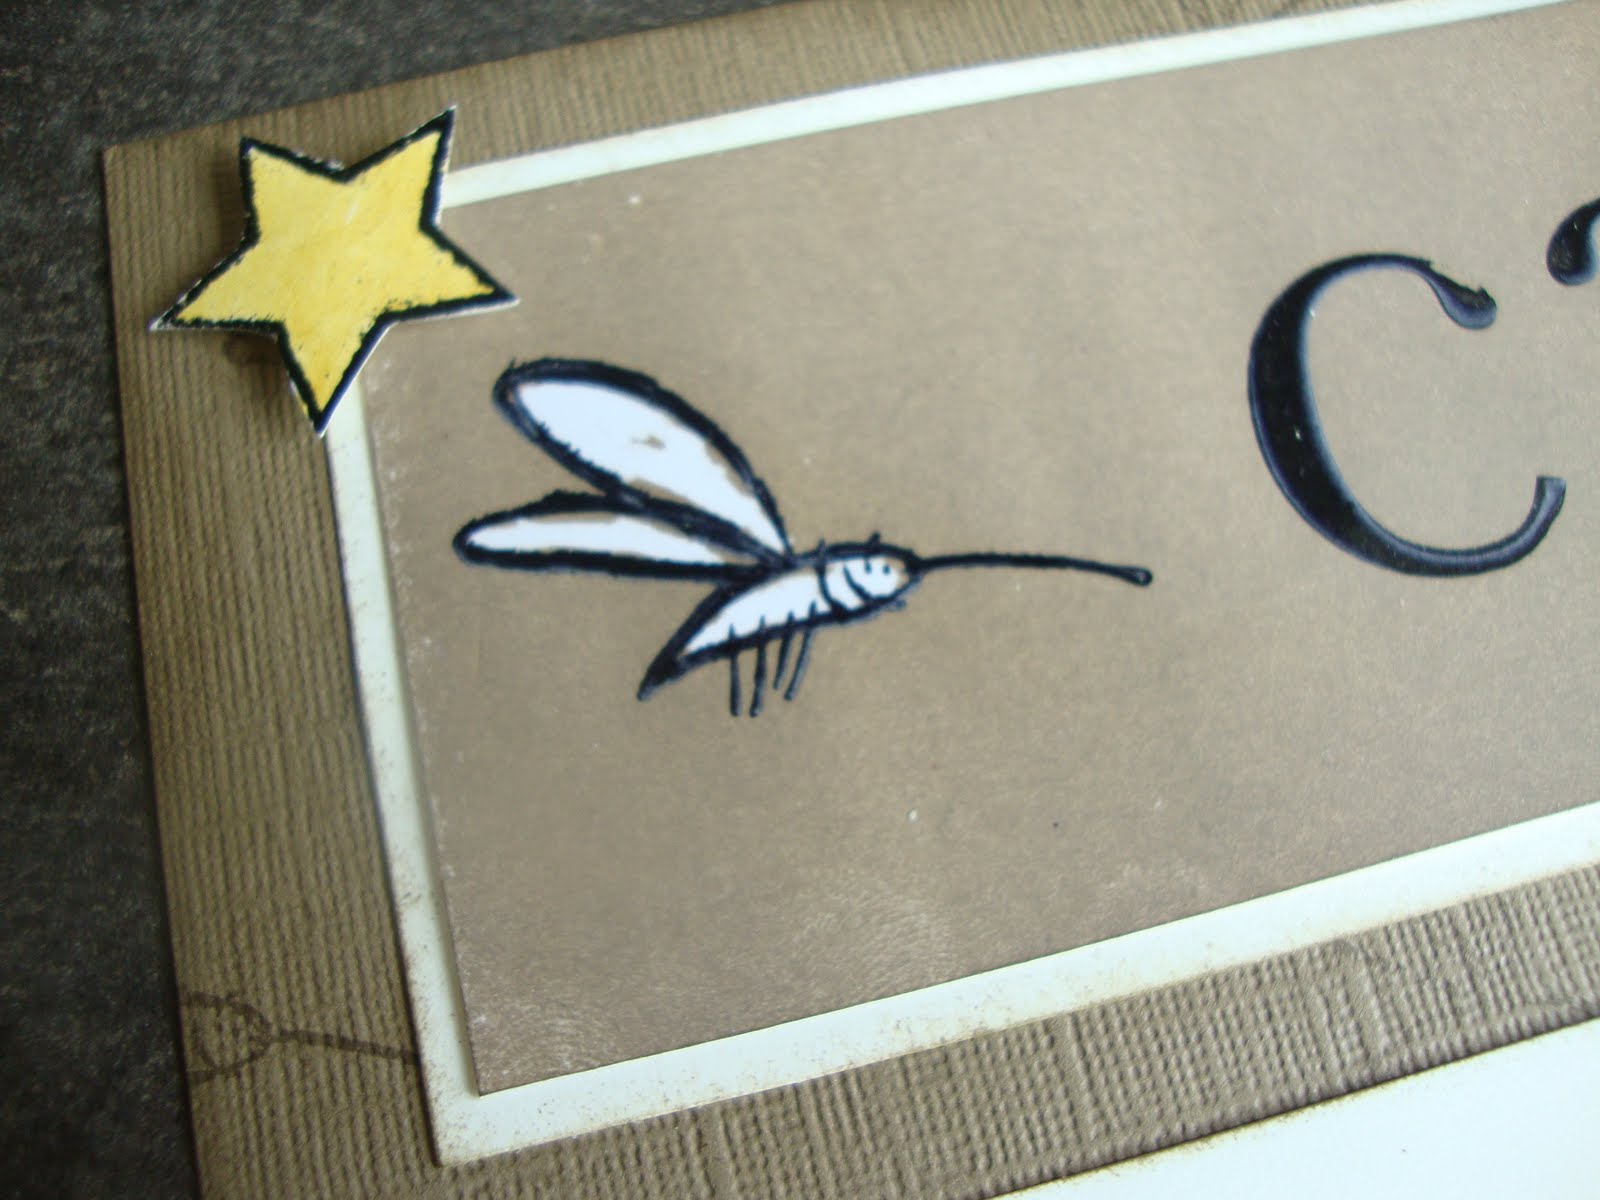
Stamps - Delightful Decorations and Dear Santa
Ink - Chocolate Chip, Real Red, More Mustard and Baja Breeze
C/S - Old Olive, Chocolate Chip, Real Red, Garden Green, Whisper White and Crumb Cake
Die - Holiday Stocking, Timeless Type and Stocking Accents
Punches - Ornament, Scallop Trim and Large Tag
Other - Whisper White Ribbon and Silver Stretch Cord

Have a great day!

Oct 31, 2011

Happy Halloween!

The picture above was the treat bag we made for the teacher. It matches the Halloween scrapbook pages and the card I posted the other day. I love those spooky butterfly eyes!


It is hard to tell but Ryan and I put some spiders and worms in the pail to make it scary!


These are the treats that we made for Ryan's preschool class. I saw the bats on Heather Summers blog and thought they would be perfect for young kids. I decided to make my bats a little more kiddish with the googly eyes and then I turned them into sucker holders. I also put a little halloween ring in there which helped the sucker from sliding. I also made mummies which are one of my favorite halloween projects, I have made them the last 3 years.

I hope you all had a wonderful Halloween!!

Oct 24, 2011

Spooky Night Card!

I really liked the way this card turned out. I don't make to many Halloween cards because I don't normally hand them out, I will have to find someone to send this one too! I used one of the medium sized butterflies for the spooky eyes on the card because the large one took up the entire front of the card. The ghosts on the DSP and used for the a in Happy Halloween make me think of Pac Man.

Have a great day!

Oct 23, 2011

Spooky Night!

I got my inspiration for these pages from Addie Wolfe, I loved the Butterflies for spooky eyes. I punched out different sizes of scalloped circles, stuck them together and used a Sponge Dauber and Whisper White ink to make the spooky sky.

To make these pages: Stamps - Scaredy Cat and Halloween Frights, Ink - StazOn Black, Whisper White and Cajun Craze, C/S - Black, Bravo Burgandy, Whisper White and Cajun Craze, DSP - Frightful Sight, Punches - Modern Label, Scallop Circles and 1 3/4, 1 1/4, 1 and 1/2" Circles, Dies - Beautiful Butterflies and Alphabet Simple Letters.

Oct 22, 2011

Fall Thank You

This is the card that I made to match the scrapbook pages that I posted yesterday. To get both colours on the stamped image I first used More Mustard on the stamp and then used a Sponge Dauber with Soft Suede around the edges and in the center.

Oct 21, 2011

Falling Leaves!

I tied the leaves and acorn together with linen thread.


My scrapbook club has started back up this month and I will be making cards to match the scrapbook pages, I will post the card tomorrow. When I went to a regional event and got this stamp set, Day of Gratitude, I did not really care for it but as I have seen it used for various projects it has grown on me. I used the Gently Falling stamp set out of the Holiday Mini, Fall is my favorite so this set was a must have! I really wanted to use the Spice Cake DSP for my fall pages so I chose my colour scheme from it. I don't think I have ever made a scrapbook page without using punches so I added in some puncha art pumpkins.


To make these page:


Stamp Sets - Day of Gratitude and Gently Falling

Ink - Soft Suede, More Mustard, Pear Pizzaz, Crumb Cake and Sahara Sand

C/S - Soft Suede, More Mustard, Pear Pizzaz and Pool Party

DSP - Spice Cake

Punches - Wide Oval, Small Oval and Modern Label

Other - Linen Thread and Dimensionals


Have a great day!


I have started a facebook page called Stamp with Tammy if you are interested in checking it out

Oct 14, 2011

Happy Dirtday!

My nephew turned one last weekend so the boys and I thought that the I Dig You stamp set would be the set to use! This is the first stamp set I ordered from the new catalogue when it came out, not only do I have two boys but I love heavy equipment! EVen though he only turned one, I know he loved our card!

To make this card:

Stamp Set - I Dig You
C/S - Chocolate CHip, More Mustard, Whisper White
Ink - Chocolate CHip, More Mustard, Basic Black, Marina Mist, Wild Wasabi and Peach Parfait
Dies - Timeless Type
Other - Sponges

Oct 8, 2011

World Teacher Day Part 2

Here is the set we made for Ryan's teacher, Jeff took Ryan to school and said he was so excited to give his teacher a gift.

Oct 7, 2011

World Teacher Day!

We all appreciate the time that teacher's put in to helping our children with their education so I decided to make something for the boys teachers for World Teacher Day. I picked up some notebooks, large paperclips and jars from the local dollar store and decorated them with several supplies. I chose these colors because these were the colours already on my builder wheel cartridge, I think they suited this project perfectly. I apologize for some of my supplies being retired, I really need to start using up some stock!

I filled the jar with some life saver mints that are in individual wrappers. The big paperclip will make a great bookmark!

The pen has the same Pacific Point DSP in it to match the notebook. I used the Big Shot alphabet die to make a K for her last name. I punched out three k's and stuck them together so that they would be thicker and less likely to bend easily.

Even the card matches the notebook, Craig was excited to sign it and give it to her. I hope she liked it!

Oct 2, 2011

I Dig You Potty Chart.

Ryan had decided that he was ready to be toilet trained and he picked the I Dig you stamp set to be his potty chart theme. Ryan loves to stamp so I designed this chart so that he could stamp the dump truck or the bobcat onto the chart himself. I tore Crumb Cake card stock to look like mounds of dirt that the escavator is digging, then I used Dimensionals to pop up the front mound. I also tore little mounds to put in the back of the dump truck. Ryan was so excited when I gave this chart to him, by the time he stamped his last dump truck he was toilet trained!


Materials:


C/S - Chocolate Chip, Crumb Cake, Whisper White and More Mustartd

Stamp Sets - I Dig You

Ink - More Mustard, Basic Black and Chocolate Chip

Dies - Timeless Type


Have a great day!


Sep 30, 2011

Fall Leaves

I recently got the Gently Falling stamp set out of the Holiday Mini and used it to create this card for my swap last week. Fall is my favourite season, I love watching the leaves on the trees change colour. This set is designed for 2 step stamping, I really like having the clear mount for 2 step stamping, it makes the process easier than having to pull out the Stamp-a-ma-jig. I made the leaf using Leaves #2 Die for the Big Shot, I punched 5 out at one time and then stuck them all together to give it a popped up look, it makes it thicker as if you used Chip Board.


To Make this,


C/S - Chocolate Chip, Old Olive and Very Vanilla

Ink - Old Olive, More Mustard, Pumpkin Pie, Ridinghood Red, Soft Suede and CHocolate Chip

Stamps - Gently Falling and Day of Gratitude

Die - Leaves #2

Punches - Word Window and Modern Label

Ribbon - 1 1/2" Stripped Chocolate Chip

Other - Old Olive Buttin


Have a great day!


Sep 25, 2011

VersaMark Technique

I made this card for my stamping group shoebox swap. I used the VersaMark technique where you stamp your image on Glossy card stock, let it dry, brayer over stamped image and use a tissue to wipe over stamped image to make the image stand out.


To make this card:


C/S - Old Olive, Whisper White and Glossy

Ink - VersaMark, Old Olive and Concord Crush

Stamp Set - Just Believe
Punches - Work Window and Modern Label

Other - Old Olive 1/4" Grosgrain Ribbon


Have a great day!

Sep 16, 2011

School Days!

I can hardly believe that Craig is already in Junior Kindergarten this year! These pages will be for his first day of school pictures. I am so glad he had a great first day and that he likes his teacher and classmates.

I saw an apple like this in our demonstrator only Stampin` Success magazine, all I did was draw my smallest apple first and then trace around it to make the second one, cut it and then traced around it to make my third one. After all my apples were cut out I crumpled the card stock and sponged the edges with Soft Suede ink, the seeds are made from the smallest heart from the Heart to Heart Punch. I free handed the stem and puched a leaf using the Small Oval Punch.


So I am trying to fill out which circle punches I have used for this project and my laptop is stuck on the french setting and I have no idea how to change it back so that is why I am going to leave it at circle punches!


To Make these pages:

C/S - Real Red, Whisper White, Very Vanilla, Real Red DSP Old Olive, Pumpkin Pie, Pacific Point, Rich Razzleberry, Daffodile Delight, Melom Mambo and Chocolate Chip
Ink - Soft Suede(apple edging), Real Red, Pacific Point, Old Olive and StazOn Black

Punches - Circle punches

Stamps - School Lines

Builder Wheels - For Teacher, Elemetary Alphabet and School Colours

Dies - Timeless Type


Have a great day!

Sep 15, 2011

Preschool!


My baby, Ryan started Preschool last week, he was so excited to have something of his own. It is just so hard to believe how fast time goes by. I know it will be good for him since he loves to play and learn! I guess it will be nice for me to have a little free time too!


I designed these pages for my scrapbook club, most of them have preschoolers and the ones that don't replaced the preschool with grade ?. I saw the bookworms and books on various blogs. The clipboard sheet was from the schooldays stamp set on My Digital Studio, I enlarged it, printed it and then cut it out for my club. My digital studio is great for when you want an image made larger. The scissors are also made using punches, I created these a few years ago for my friend Jen! I was talking to my husband and said it is funny that I still think of chalk boards when I think of school but I don't think any schools around here even have a chalboard in it since they have all been replaced with Smartboards.


To Make:


C/S - Basic Black, Whisper White, Pacific Point, Pear PIzzaz Daffadile Delight, Shimmering Silver, Real Red, Pumpkin Pie and Crumb Cake

Punches - Word Window, Key Tag, 1/4 - 1' Circles, Small Oval and Round Tab

Bigshot and Dies - Timeless Type Alphabet and Lowercase Alphabet

My Digital Studio - School Days

Aug 17, 2011

Girl Version


I like to try and make boy and girl version for some of my pages so that everyone in my scrapbook club goes home with pages that they will be able to use. This is my girl version of the boy page I made a few posts ago. I think Old Olive just goes with every colour and comes in handy for my girl/boy layouts. The VersaMark technique I used for the flowers is so great and I see myself using it a lot in the future. I usually try to fill the spaces on my page with something other than DSP for some reason, I am not sure why, I think it is very pretty and I have lots of it.

I think I am going to put pictures of my neices on here, they were over visiting for a few days and I got some great pictures of them.


Have a great day!

Aug 10, 2011

Summer Fun!

I love the look of the pictures sticking out of the sand, I saw this on Jennifer Horton-Motter's Blog and had to copy! I used some beach pictures I had from last summer and I placed them on different blue card stock before choosing Bashful Blue as the background. I just love watching my boys play, they say and do the most interesting things, I must have taken 50 pictures this day. I tore Crumb Cake card stock using a shaped ruler (Fiskars) and then edged with Soft Suede ink and a sponge. I also stamped seashells from Summer Splash all over with crumb cake ink to make them more subtle. The surf board, shovel and pail are also from Summer Splash, this is the cutest summer stamp set.


Have a great day!


Aug 1, 2011

It's a Case!

I saw a page like this on someone`s blog, I think I am going to have to start saving the names of creator`s as the title so I can give proper credit!

I changed a few things around such as I used two pictures instead of one making my matting larger, we used different fonts and our lady bugs are very different. I loved the idea of this page as soon as I saw it!


Have a great day!

Jul 27, 2011

Happy Birthday!

I like these birthday pages that I designed because they are so simple and leave lots of room for pictures. I always find birthday pages harder to do because I take way to many pictures and want to use them all!


To make this layout:

Stamps- Look Who's Turning and Party Hearty(retired)

Ink- Pacific Point, Real Red, Certainly Celery and Bashful Blue

Paper- Certainly Celery, Pacific Point, Bashful Blue, Real Red and Whisper White

DSP- Celebrations

Punches- 1 3/4" Circle, Scallop Edge and 1/8" Circle

Other- Numbers Die, Alphabet SImple Letters Die and one Real Red Brad


Have a great day!

Two Months!!


I can not belive that it has been two months since I last posted! I have no idea what has happened to this summer, it is half over and we have yet to do half the trips we had hoped to do. I only have one month left before Craig goes into JK :( Time sure does fly by!

My friend who checks my blog was giving me a hard time for not having any current projects posted, thank you for the motivation to get back at it, I really do enjoy blogging my projects for others to see.

I created this scrapbook page for my scrapbook club this month, I know it is missing something, I just don't know what yet, perhaps once I add my journaling it will feel completed. For the Bashful piece with the stars I uses a VersaMark resist technique (I don`t know what it is called so this is the name I am calling it!) I took a piece of glossy card stock, stamped my image using VersaMark letting it dry and then went over it using Bashful Blue and the Brayer and then wiped my stamped stars with a kleenex and voila!


My friend and fellow demonstartor has started a blog of her own and I would like you to check out her page at Creative Stampin` Bug.


Have a great day!

May 28, 2011

12x12 Camping Layout


I love the Under the Stars Stamp set, it is such a great stamp set to use for boys, men and camping projects. I used the crayon resist technique for these pages. So if you have never done this before it is very simple; Stamp image with Stazon onto glossy card stock, color in the areas you want left white with a crayon, brayer over your sheet of card stock and use a kleenex to wipe the ink of the areas with crayon.
Tip - You can color an image using your markers, brayer over it and then wipe it with a kleenex right away so that the image is not as drastically changed. This is what I did with my raccoon, compass and chocolate in the smores.

To make this layout

Stamps - Under the Stars and Schoolbook Serif Alphabet
Card Stock - Soft Suede, Very Vanilla and Glossy White
Ink - Soft Suede, StazOn Black, VersaMark, Old Olive, Basic Gray, Daffodil Delight and Chocolate Chip
Other - Black Embossing Powder, Heat Gun, Crayon and a Sponge

Have a great day!

Cupcake Birthday Girl


Just a quick post today.
I cased this page from myself using Concord Crush, Pink Pirouette and Very Vanilla. I really liked the Pacific Point, real Red and Pear Pizzaz color combo that I used for the original a few posts ago.

Have a great day!

May 27, 2011

Mom Page!


The first page to this layout was pretty much entirely cased from my Stampin' Success magazine that Stampin' Up! sends me each month. I changed some colors and designer paper to suit what I wanted. I almost always design my pages to suit the boys but since this is a mom page I decided to make it in more feminine colors. I never like to leave one page alone so I designed this simple second page to go with it.

Have a great day!

May 26, 2011

Spring has Sprung - Girl


Here is the girl version of yesterdays page, I used the Fun Flower Die from the last mini, this die is still available if you are interested in it. The technique on the flowers is similar to the crayon resist technique. I used a plastic bag to dab the Frost White Shimmer paint on to my Whisper White card stock flowers, let it dry, went over it with the Brayer using Concord Crush and used a paper towel to wipe the ink off the shimmer paint. It is quite a simple technique and you can design all kind of great projects using it. It is hard to see it shimmer in this picture so you should give it a try to see how it looks!

Have a great day!